How to Document Damage for Roof Repairs Insurance Claims
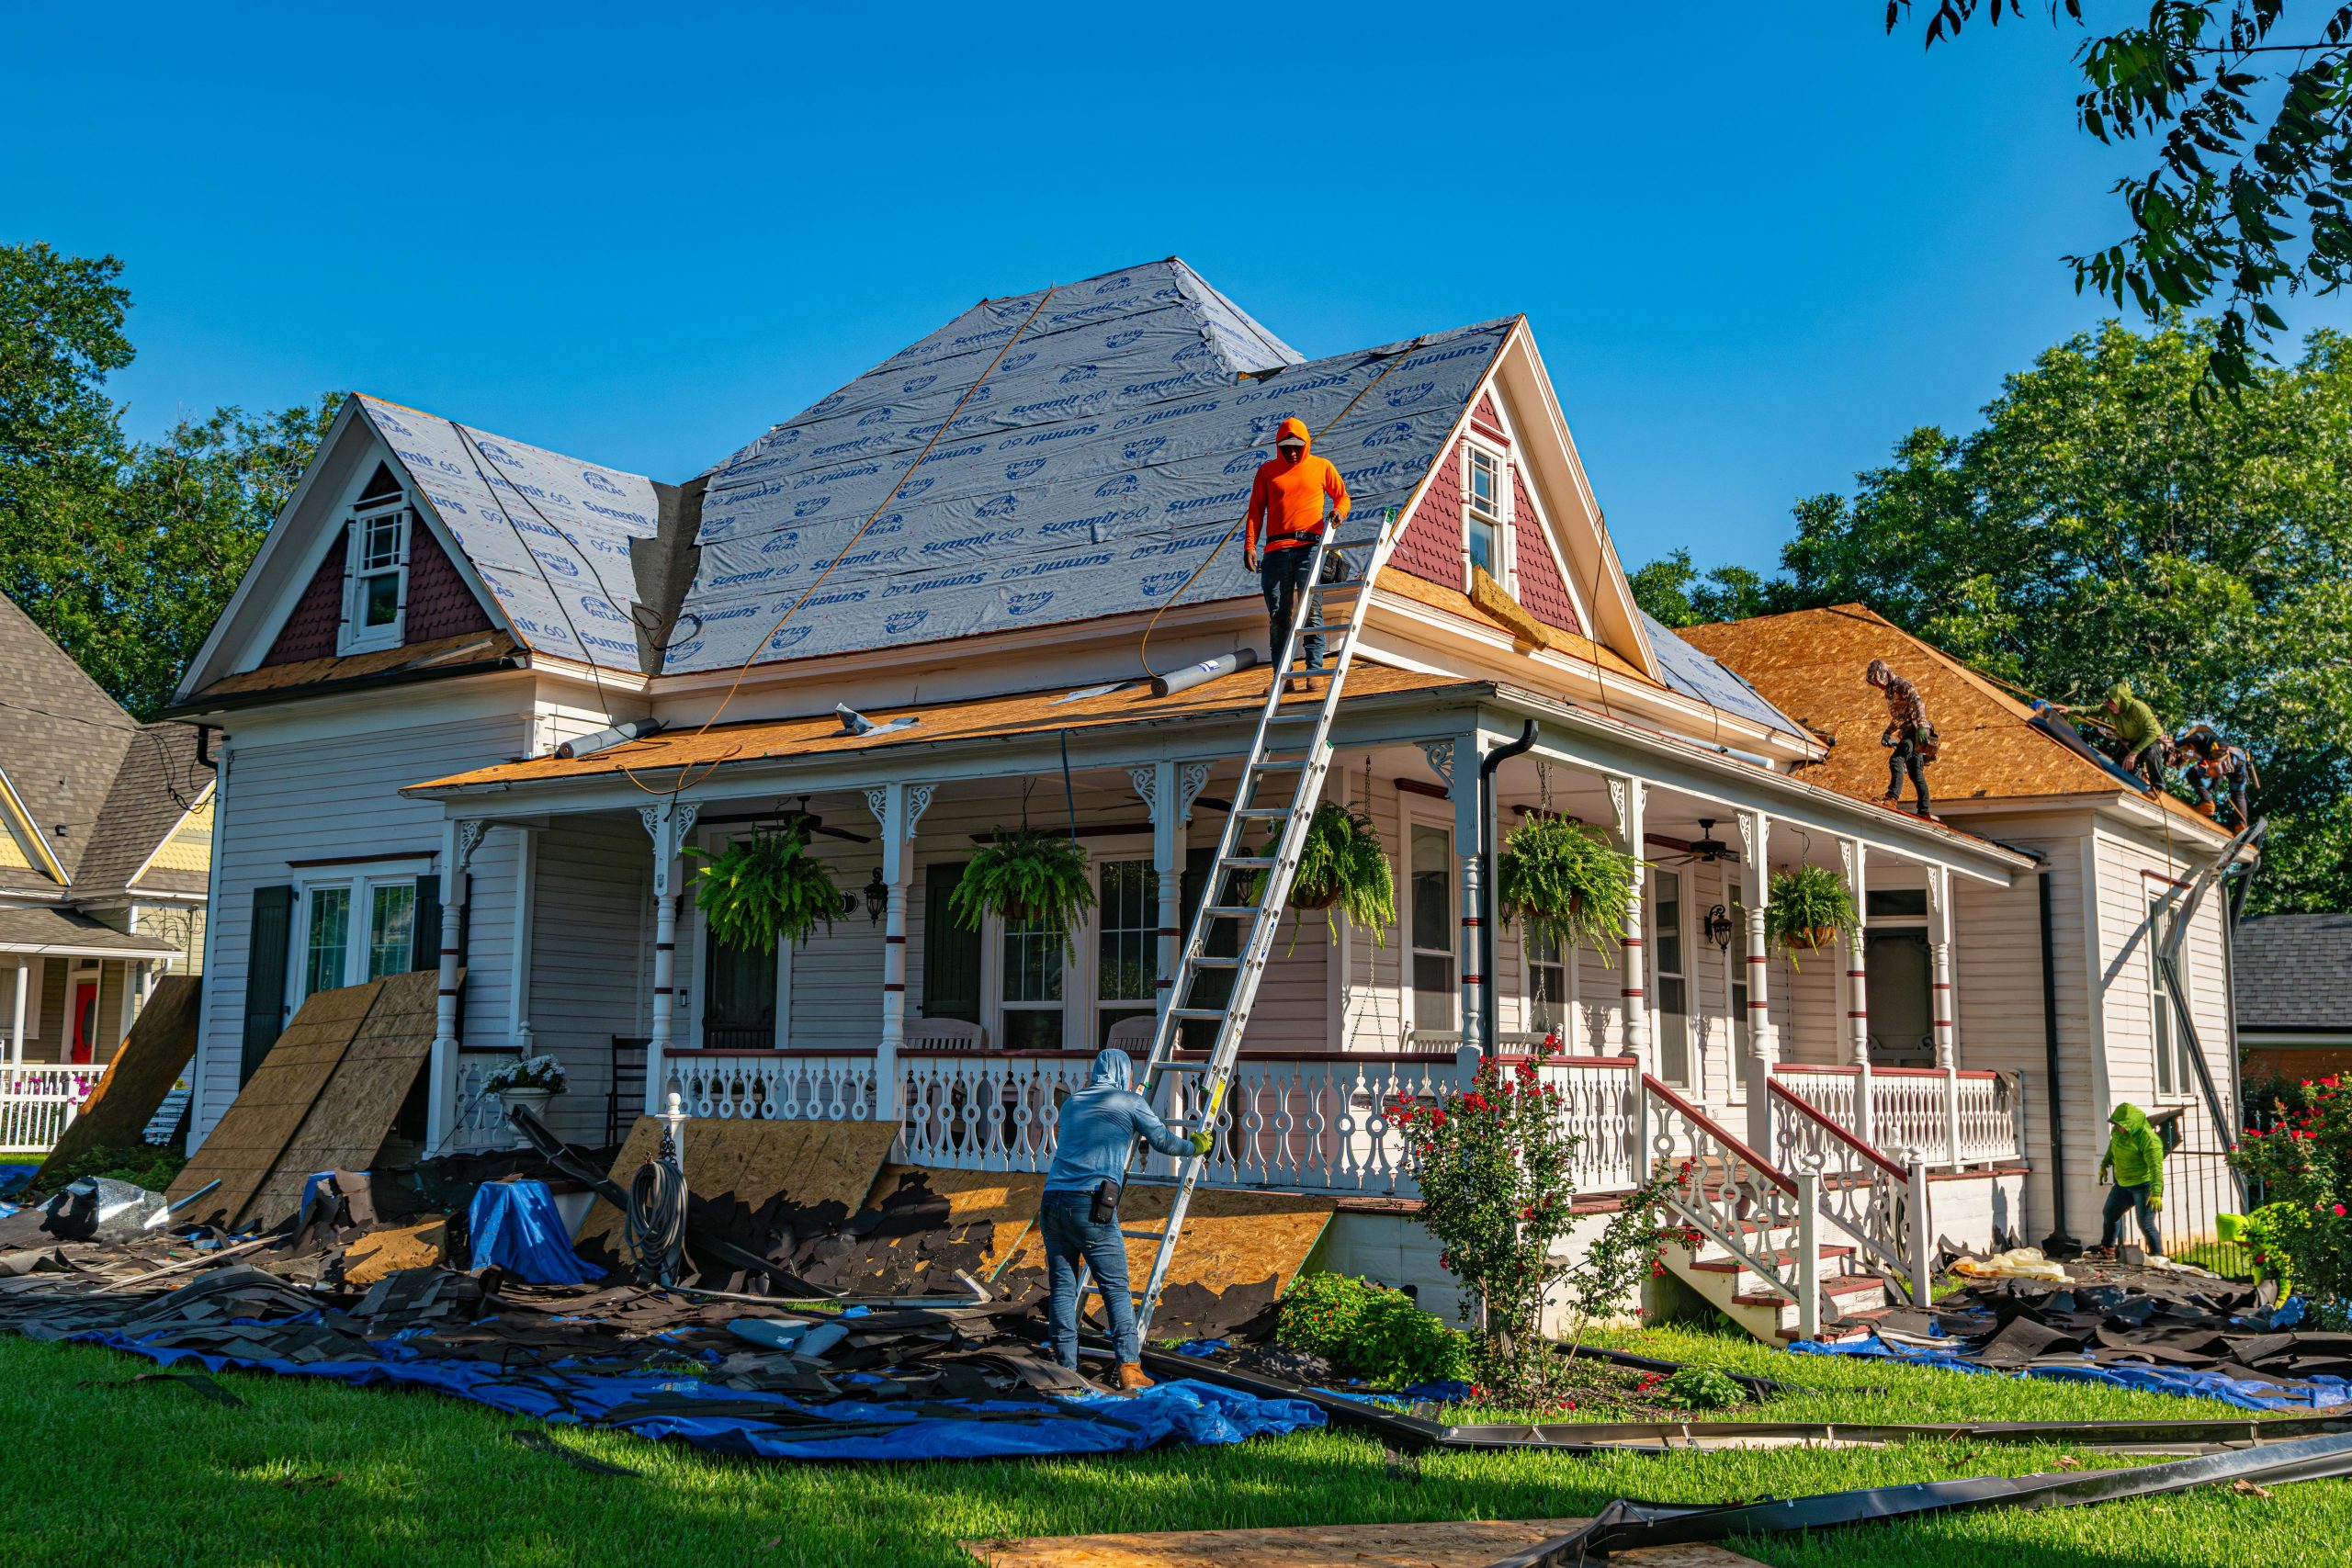
When a roof is damaged, the repair itself is only part of the job. The other half is proving, clearly and credibly, what happened, how serious it is, and what it will take to put the property back in proper condition. That proof is what moves an insurance claim forward. Without it, even legitimate damage can turn into delays, partial approvals, or outright disputes.
Homeowners often assume the insurer will sort out the facts once the claim is opened. Sometimes that happens. Often, it does not happen neatly. Adjusters work quickly, weather changes conditions, temporary fixes can hide evidence, and small details that seem obvious on site can disappear in photographs taken a week later. Good documentation closes those gaps. It gives the claim a backbone.
I have seen two roof claims from the same storm end very differently. One owner had a few distant cellphone photos, a vague description of a leak, and no record of when the water intrusion started. The other had date-stamped exterior photos, interior ceiling shots, a written timeline, a copy of a weather report, and a roofer’s inspection notes identifying lifted shingles and damaged flashing. The second claim did not become easy, but it became defensible. That difference matters.
The goal of documentation
Insurance carriers are not paying for a story. They are paying for verified loss under the policy terms. Your documentation should establish four things as cleanly as possible: when the damage likely occurred, what areas were affected, what kind of damage exists, and how that damage connects to necessary Roof Repairs.
That sounds straightforward, but roofs create complications. Wind damage can look different from hail damage. A small puncture in a membrane roof can lead to staining far from the original opening. Granule loss on shingles might be normal wear in one case and storm impact in another. The burden is not to become your own adjuster. The burden is to preserve evidence before time, foot traffic, and patchwork repairs erase it.
A strong claim file usually reads like a practical field record. It shows the exterior roof condition, the interior effects, the sequence of events, and the contractor’s assessment. If there is one guiding principle, it is this: document broadly first, then specifically.
Start with safety, not with the camera
People make bad decisions on damaged roofs. They climb wet slopes, step on brittle shingles, or lean over eaves to get a better angle for photos. A roof claim is not worth a fall. If there is storm damage, active leaking, loose power lines nearby, or structural sagging, stay off the roof and use safer methods.
Ground-level photos, ladder-edge photos taken without stepping onto the roof, upper-story window angles, and drone images from a licensed operator can all be useful. A reputable roofing contractor can also perform the inspection and provide photos from the roof surface if conditions allow. Insurance companies generally care more about clear, credible evidence than about who physically pressed the shutter.
If water is entering the home, address emergency mitigation promptly. Tarping an opening, catching water in containers, moving furniture, and shutting off power to wet areas may be necessary. Most policies require reasonable steps to prevent further damage. The important part is to document the condition before and after those temporary measures so nobody later argues that the original damage cannot be verified.
Photograph the scene like someone else will have to understand it
A common weakness in roof claims is a stack of close-up images with no context. A blurry photo of a torn shingle proves very little if no one can tell where on the roof it sits, how widespread the issue is, or whether nearby components are also affected. Good photographic documentation starts wide and narrows gradually.
Begin with full elevations of the house from all sides. Capture roof planes, gutters, downspouts, fascia, soffits, skylights, vents, chimney intersections, and visible debris fields in the yard. Then move into medium-range images of each damaged area. After that, take close-ups that show the precise defect, whether that is a creased shingle, fractured tile, dented vent cap, displaced flashing, punctured membrane, or hail mark on a soft metal accessory.
It helps to include a reference object for scale in close-ups. A ruler, tape measure, or even a common object can help show size, though a measuring tool is better. With hail claims in particular, scale matters. A random circular mark means less than a documented impact pattern across vents, gutters, downspouts, window screens, and roofing surfaces.
Take more photos than you think you need, but keep them organized. Naming files by slope or area, such as “front-left-slope” or “garage-valley-east-side,” can save hours later. If your phone records metadata, preserve the original files rather than sending compressed screenshots back and forth.
What to capture outside and inside
The roof is the starting point, but insurance claims often turn on supporting damage. Exterior accessories and interior symptoms help confirm severity and timing. If wind damaged shingles, it may also have bent metal edge details or scattered fragments into landscaping. If hail hit hard enough to bruise shingles, it may have dented soft metals and marked patio furniture or AC fins. If a leak developed, it may show up in insulation, drywall, trim, or attic sheathing before it becomes obvious on the living room ceiling.
Use this short field checklist when documenting conditions:
- Wide shots of every roof slope and each elevation of the building.
- Close-ups of visible damage to shingles, tiles, metal panels, flashing, vents, skylights, gutters, and chimney areas.
- Interior evidence such as ceiling stains, bubbling paint, wet insulation, attic decking discoloration, and active drips.
- Temporary repairs or mitigation measures, including tarps, sealants, buckets, fans, and removed wet materials.
- Collateral signs of the event, such as fallen branches, fence damage, dented metal fixtures, or storm debris patterns.
That last point gets overlooked. Collateral evidence can be persuasive when roof damage itself is subtle. A property-wide picture often tells a cleaner story than a single roof photograph in isolation.
Write down the timeline while it is still fresh
People trust memory too much. After a week, details start to slide. After a month, they blend with assumptions. The day you discover damage, start a written timeline. It does not have to be polished. It has to be accurate.
Record when the storm or event occurred, when you first noticed the issue, what conditions were present, and what you did next. If you heard shingles flapping overnight, found granules at the downspout in the morning, or saw a ceiling stain after a wind-driven rain, note that. If a neighbor had similar damage, note that too, but stay factual. Avoid guesses about policy coverage or repair cost in your timeline. Stick to observations and actions.
A useful timeline entry might read like this: on April 14, a severe thunderstorm passed through around 8:30 p.m. At 10:15 p.m., water staining appeared on the upstairs hallway ceiling near the attic access. On April 15 at 7:00 a.m., several shingle fragments were found in the backyard on the north side, and a visual check from the ground showed displaced shingles near the ridge above the hallway. A roofing contractor was contacted that afternoon. Temporary tarp installed April 16 to prevent further water intrusion.
That level of detail helps establish prompt notice, a specific event window, and a consistent chain of evidence.
Bring in a roofing contractor early, but choose carefully
A qualified roofer can identify damage patterns that homeowners and even some adjusters miss. They know where wind first lifts shingles, how hail affects different materials, and whether a leak path likely began at flashing, a fastener, a seam, or a field shingle. They can also separate genuine storm damage from age-related deterioration, poor prior workmanship, or mechanical damage caused by foot traffic.
Choose a contractor who is experienced with insurance-related Roof Repairs but not reckless with promises. Be wary of anyone who says they can guarantee full replacement before an inspection has even happened. That kind of sales talk can create unrealistic expectations and weaken trust. What you want is a clear inspection report, marked photographs, scope observations, and a straightforward explanation of recommended repairs.
A useful contractor report often includes roof type, approximate age if known, slope locations, number of damaged components observed, and notes on immediate mitigation needs. If interior moisture is present, attic photos and moisture meter readings can help. If decking feels soft underfoot or visible structural movement exists, that should be documented with particular care.
The contractor’s role is not to invent damage. It is to identify, record, and explain existing conditions in professional terms.
Weather data can support your claim, but it is supporting evidence
People sometimes treat storm reports like a magic key. They are not. A hail map or wind report does not prove your roof was damaged. It shows that damaging weather likely occurred in your area at a certain time. That can be valuable, especially when paired with photos and inspection findings.
If you use weather information, keep it practical. Save local alerts, storm dates, hail-size reports for your immediate area, or reputable event summaries. Match them to your timeline. If the roof leak appeared three months after the storm, be prepared for scrutiny. Delayed discovery happens, especially with small punctures or flashing failures, but the longer the gap, the more your photographic and contractor evidence need to carry the claim.
I have seen weather data help most in close calls, particularly on wind claims where the damage looked localized and the insurer initially leaned toward wear and tear. When the timeline, neighborhood reports, and site conditions all lined up, the discussion changed.
Do not throw away damaged materials too quickly
When repairs start, contractors often remove damaged shingles, broken tiles, bent flashing, or punctured membrane sections. If practical, keep representative samples until the adjuster has inspected or the carrier confirms they do not need to see them. This is especially useful when the visible damage is hard to appreciate once the roof has been stabilized.
Store samples dry and label them by location. A small stack of creased shingles from the west slope or cracked tile pieces from the valley area can be more persuasive than a verbal description alone. The same applies to damaged vent covers or detached flashing sections.
There are limits here. Do not clutter the property with hazardous debris or wet materials that will mold. Use judgment. Preserve what is reasonably helpful and safely storable.
The first inspection is important, but the claim file matters more
Homeowners often fixate on the adjuster’s site visit as the one decisive moment. It is important, but it is not the whole claim. What matters over the life of the claim is the complete file: your photos, your notes, the contractor’s report, communications, estimates, supplemental findings, and records of mitigation.
During the inspection, be present if possible. Walk the adjuster through the timeline calmly. Show where the damage was first noticed, where leaks appeared, what temporary measures were taken, and which areas the contractor flagged. If your roofer attends, that can be helpful, especially when discussing specific roof components or hidden issues around flashing, underlayment, or brittle materials.
Stay factual. Do not overstate. If you do not know whether a mark is hail or age-related wear, let the professionals assess it. Credibility counts. Claims tend to go better when the property owner is organized, consistent, and measured.
After the visit, write a short summary for your records. Note who attended, how long the inspection lasted, which areas were reviewed, and whether any next steps were mentioned.
Keep every piece of communication
Claims become messy for mundane reasons. An email gets buried. A voicemail never reaches the file. A contractor sends revised photos to one person, but the desk adjuster never sees them. Good recordkeeping reduces this friction.
Create a single folder, physical or digital, for the entire matter. Save claim numbers, adjuster contact details, inspection dates, estimate versions, receipts, invoices, mitigation bills, and every substantive email. If you have a phone conversation, follow it with a short email confirming the main points. That simple habit can prevent confusion later.
One homeowner I worked with had a claim stall for weeks because the carrier said it never received the tarp invoice and attic moisture photos. The owner had emailed them once, but to a generic address that did not attach them properly to the file. Once the documents were resent with a clear subject line, claim number, and itemized explanation, movement resumed. Administrative sloppiness should not decide a roof claim, but sometimes it does.
Understand the difference between damage and pre-existing condition
Insurance generally covers sudden, accidental direct physical loss, subject to the policy. It does not typically cover age, neglect, installation defects, or maintenance issues. Roofs often contain a mix of both. That is where disputes start.
A twenty-year-old roof may suffer genuine wind damage while also showing long-term granule loss and prior patching. A metal roof may develop a leak from a recent fastener failure while also carrying older oxidation around exposed hardware. Documenting current damage does not erase the existence of wear. The better approach is to separate them honestly.
This is where contractor language matters. “Storm-created opening near pipe boot on rear slope” is more useful than “roof is old and leaking.” “Creased shingles consistent with wind uplift in a concentrated pattern on the southwest slope” is more useful than “lots of damage.” Precision helps distinguish covered damage from general condition.
If the insurer points to wear and tear, review whether that assessment addresses the specific damaged areas you documented. Sometimes it is correct. Sometimes it is incomplete. The file should allow that conversation to happen on evidence, not frustration.
Supplementing the claim after repairs begin
Many roof systems reveal additional damage only after work starts. Underlayment may be torn beneath displaced shingles. Decking may be water-damaged under a leak path. Flashing integrated into masonry or siding may require more labor than first estimated. This is common in Roof Repairs and not, by itself, a sign that someone made a mistake.
If hidden damage appears, stop and document it before it is covered up. Clear photos, location notes, and a contractor explanation are essential. Submit supplemental information promptly. The strongest supplements connect the newly discovered condition to the original loss and show why it was not visible during the initial inspection.
For example, if decking around a vent stack is rotted from recent water entry tied to storm-displaced shingles, photograph the opened area, show the adjacent exterior damage, and include the contractor’s note explaining the repair necessity. If brittle materials crack during required removal, document that too, because repairability can affect scope.
Supplements often fail not because the condition is invalid, but because the evidence arrives late or without context.
Common mistakes that weaken roof insurance claims
Most weak claims are not weak because the damage is minor. They are weak because the documentation leaves room for doubt. These errors show up repeatedly:
- Waiting too long to photograph the damage, after weather and temporary repairs have changed the scene.
- Taking only close-ups without any wide shots to show roof location and extent.
- Failing to document interior and attic evidence that connects the roof issue to active loss.
- Throwing away damaged materials and receipts before the insurer has reviewed them.
- Relying on verbal conversations without keeping a written record.
Every one of these mistakes is fixable if caught early. The real problem is that many homeowners do not know what is missing until the carrier asks for it, or until a denial letter points out the gaps.
When a denial or underpayment may come down to documentation
Not every denied claim is improper. Some roofs are simply old, poorly maintained, or damaged by causes not covered under the policy. But many partial denials and low initial scopes stem from insufficient evidence or an incomplete inspection.
If that happens, resist the urge to answer with anger. Answer with better documentation. Review the carrier’s stated reason. Did they say there was no storm-created damage? Provide the contractor’s marked photos and weather-linked timeline. Did they allow spot repair but miss interior moisture or flashing replacement? Submit the supporting attic photos, measurements, and repair explanation. Did they omit code-related items? Ask your contractor to identify the specific requirements affecting the repair method, if applicable in your jurisdiction and policy context.
Claims are arguments built from facts. The better your file, the stronger your position.
Final practical advice from the field
The best roof claim documentation has a calm, methodical quality. It does not sound exaggerated. It does not skip steps. It shows what happened, when you noticed it, what was damaged, what was done to prevent Roof Repairs further harm, and why the proposed Roof Repairs are necessary.
If you remember nothing else, remember this sequence: preserve safety, capture the condition widely and closely, write the timeline early, bring in a credible roofer, and save every record. A roof can deteriorate quickly after a storm, but evidence can disappear even faster. Once that evidence is gone, the discussion shifts from proof to opinion, and opinion is a much harder place to win a claim.
A well-documented file gives everyone, homeowner, roofer, adjuster, and insurer, the same set of facts to work Roof Repairs from. That does not guarantee an effortless outcome. It does give your claim what it needs most: clarity.
Royalty Exteriors
151 NJ-10 Suite 103A
Succasunna, NJ 07876, United States
+1 973-333-7234
FAQ About Roof Repairs
Can you fix a roof leak without replacing the whole roof in Succasunna,NJ?
Often, a localized leak can be repaired without replacing the entire roof, depending on its cause and the condition of the surrounding materials. Damaged shingles, flashing, or a roof penetration may need targeted work. Royalty Exteriors offers roof repairs for leaks, storm damage, and shingle issues. An inspection is needed to determine the appropriate scope.
What is considered a minor roof leak?
A leak may be considered minor when the damage is limited to a small area and the surrounding roofing remains sound. A small ceiling stain alone does not establish the extent of the problem because water can travel before becoming visible. Have the source and any concealed damage assessed promptly.
Is it better to repair or replace a leaky roof?
The decision depends on the roof's age, overall condition, leak source, extent of damage, and history of previous repairs. A localized problem on an otherwise serviceable roof may be suitable for repair. Widespread deterioration or recurring leaks may justify considering replacement. Ask for an inspection and a written explanation of the recommended work before deciding.
Corrections
Spot something wrong? Send it to the desk and it gets fixed in the open.